Anyone that knows me well enough will be aware that I cannot go without my nails being done. I love a nude nail, but of the polished variety only. Naked nails are my absolute no-no. Don’t get me wrong, I’m not some kind of beauty diva who must remain perfectly preened at all times – aint nobody got time for that! But there is one beauty regimen that I just can’t do without, and that is having my regular manicure done.
For me, it’s just as much a necessity as brushing my teeth. Okay, maybe that’s a little far, but the principle stands. A good seven years ago now, I treated myself to a manicure – I was recently single and in need of a girly pick-me-up. And I never looked back – I’ve gotten my nails done every two weeks ever since. I dread to think how many manis I’ve shelled out for in that time, but it’s my little treat to moi, don’t judge.
Now while my manicures are less at-home DIY, more salon sit-and-watch, over the years I’ve picked up a trick or two to getting the perfect polish, and that’s what I want to share with you today. So pick a spot you can convert into your personal home salon for the next hour and get polishing…
Note – none of this would be possible without the lovely lady responsible for keeping my hands in check for the last gazillion manis. A visit to The Beauty Box is quite honestly usually the highlight of my week, and a chance to catch up with my fellow polish-junkie/agony aunt/friend for life, Julie-Anne.
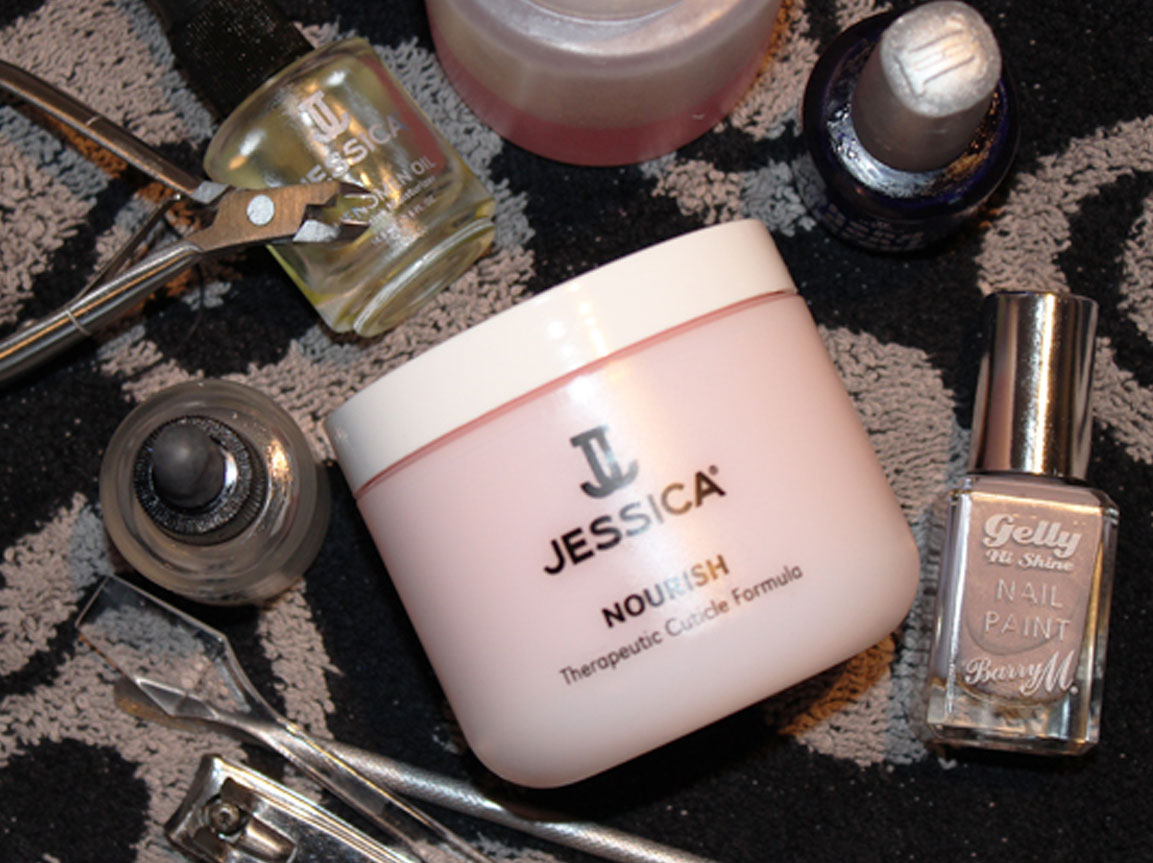
Step One – Nourish
After removing last week’s polish, it’s important to feed your nails with the right nutrients, if you will. Slapping on a colour without tending to the condition of your nails first is a recipe for disaster in the long-run, so make sure you’ve got the right products at hand.
Start with an oil to soften your cuticles, so they’ll be easier to push back and remove later. Julie-Anne uses mostly Jessica products, and for this step applies their Phenomen Oil. She then liberally coats the hand in their Hand & Body Moisturising Emulsion and massages the pair into the skin.
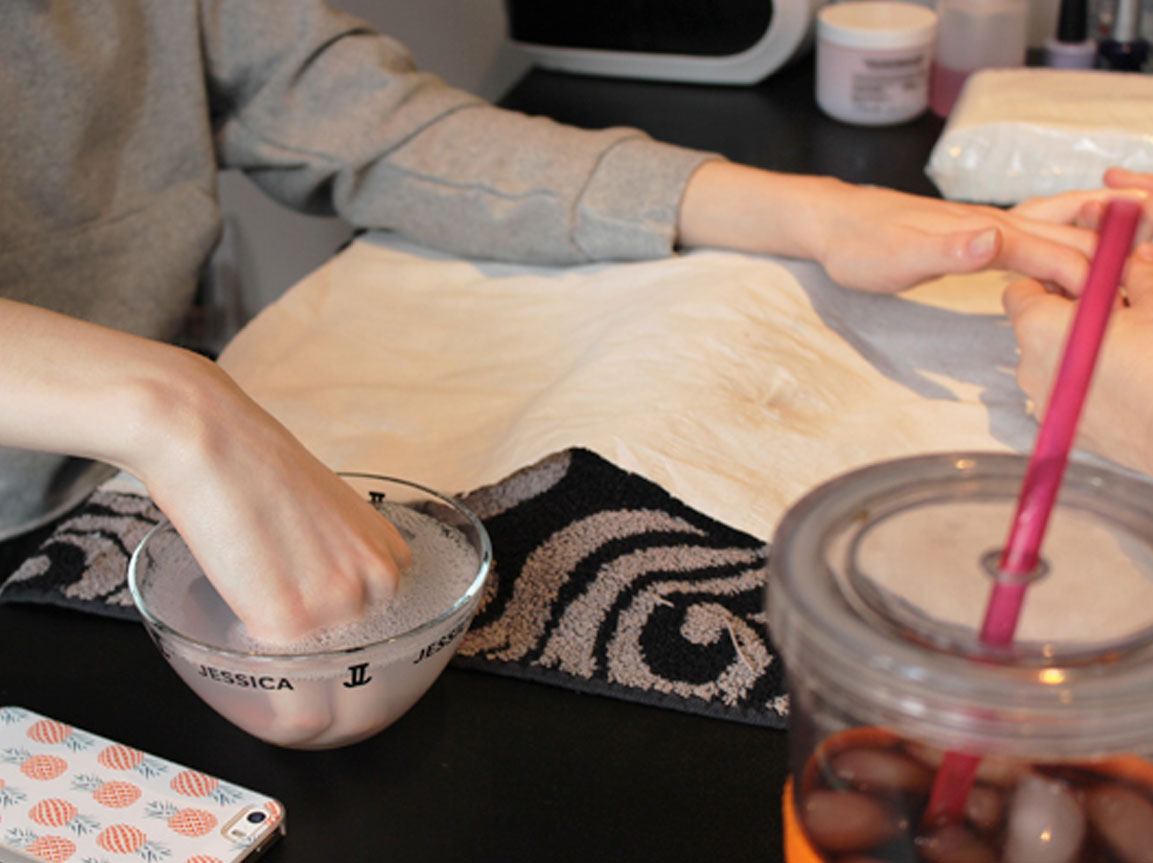
Step Two – Trim and Shape
After a quick soak in a little luke-warm water, she uses a spatula to apply Jessica’s Nourish Cuticle Formula to the base of each nail, and sets about gently pushing back the cuticles using a nail pusher and then taking away any excess with the cuticle nippers.
Then simply trim into your desired shape – I go for “scrovel”, which I believe is Lauren Conrad’s preferred nail look just FYI. Basically, the inbetweeny of a square and rounded cut. This is done using nail clippers, and then a file to buff the edges into touch (this step literally makes my blood run cold – is that just me?). Just make sure to file in one direction only, not a back and forth see-saw motion as this can cause the nails to flake and split.
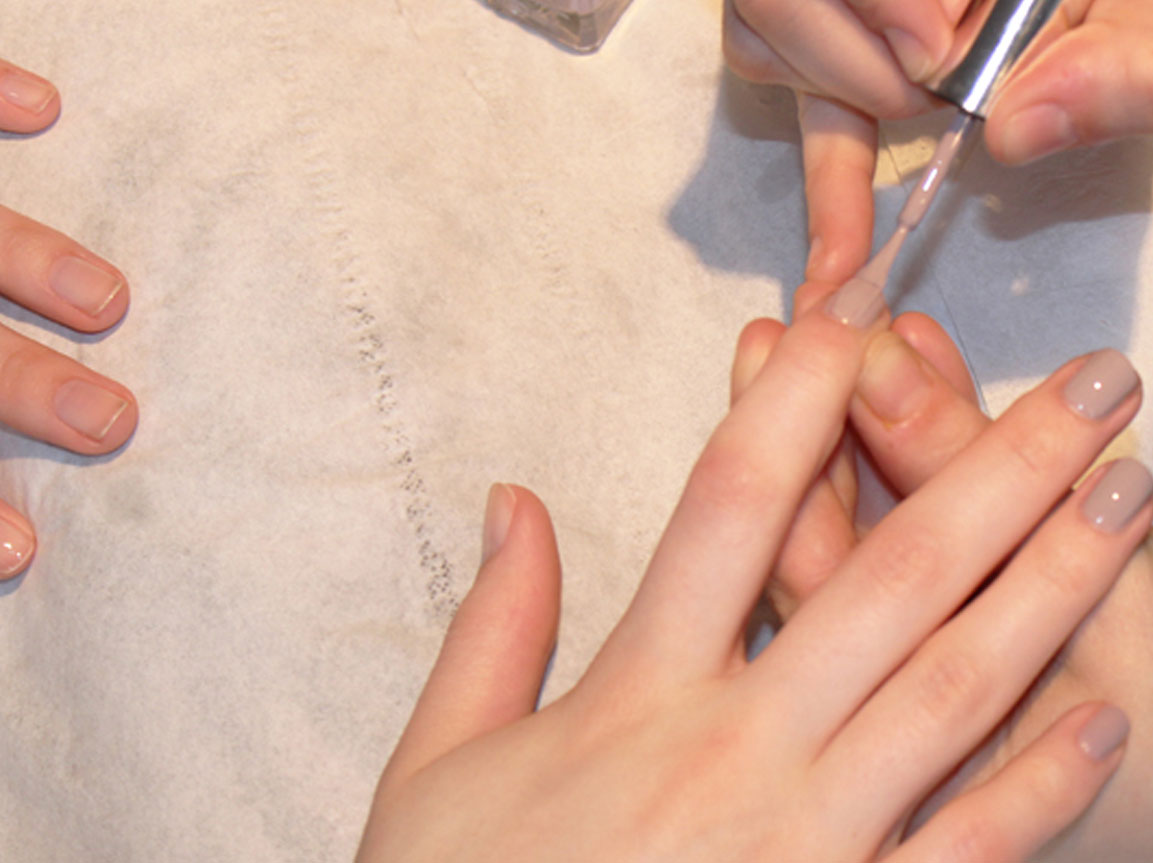
Step Three – Polish
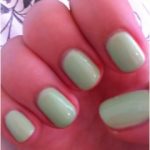
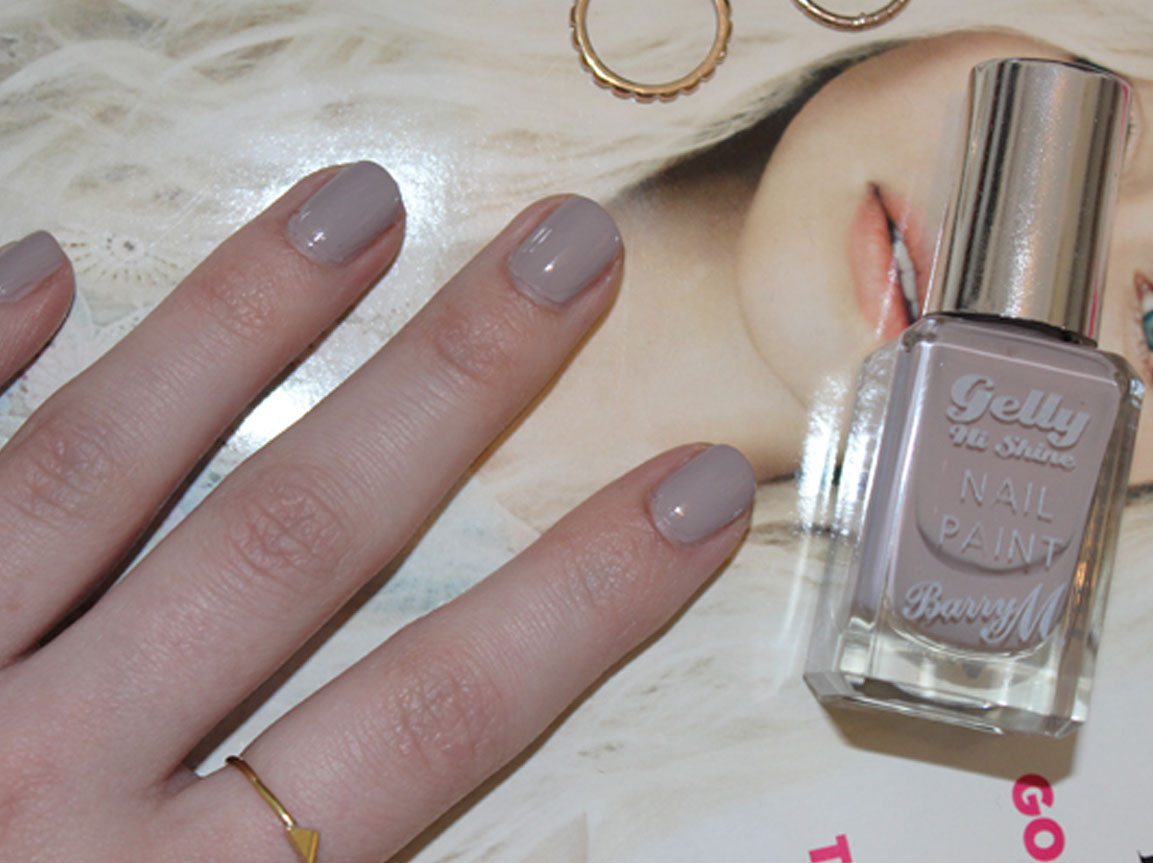
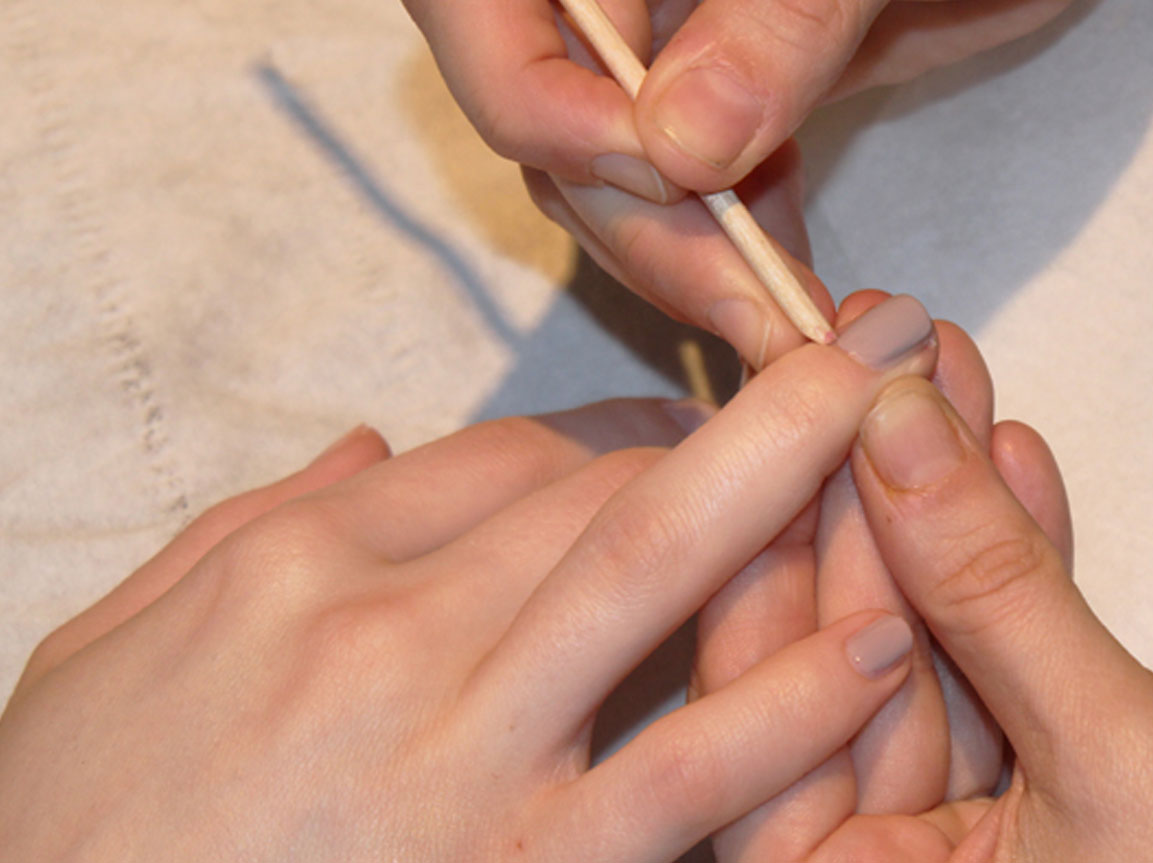
And now for the fun part. Do another quick round of polish remover, as this will help to ensure the base coat really sticks to the nail. Apply a thin lick of base coat to avoid stainage from your colour of choice, then a thin coat of your chosen colour to each nail – this week I went for a Barry M Gelly Nail Paint in the shade Almond. Use the three stroke method – one down the middle of the nail and one on either side, and then repeat for a second coat. If you don’t have the steadiest of hands, just keep a wooden nail stick nearby to gently swipe away any that’s snuck onto your skin.
Lastly, apply a generous slick of top coat, and just a few drops of Quick Dry Ointment to protect your manicure, and you’re good to go!